
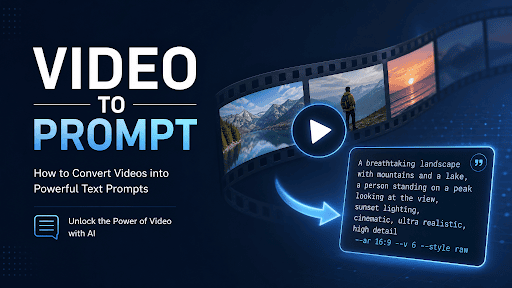
A reference clip often communicates a feeling more quickly than a written brief. The problem begins when a team says “make it like this” without identifying which part matters. One person notices the lighting, another notices the camera move, and a third copies the subject. A better brief separates the technique from the finished work.
Watch with a question
Decide what you want to learn before analyzing the clip. Are you trying to understand its opening hook, camera movement, lighting, pacing, or product reveal? Watch once for the overall effect, then once more for that single question.
A video to prompt generator can turn a clip into an editable description of shots, framing, movement, lighting, action, and sound. Treat its output as a first draft of the analysis. The source video remains the evidence, and the written description should be checked against it.
Break the clip into observable decisions
Write down what is actually visible. “The camera moves from a close view of the glaze to a full view of the bowl” is observable. “The director wanted to create wonder” is an interpretation. Both can be useful, but they serve different parts of the brief.
For each shot, identify the subject, the camera position, one important movement, and the change by the end. If the clip includes sound, note whether it sets rhythm, signals an action, or carries information. Avoid specifying an exact song or branded element unless you have the right to use it.
Extract the portable technique
Imagine a reference that reveals a handmade bowl by pulling back from a close-up texture. The portable technique is a shift in scale: begin with a detail, reveal the full object, then pause. Your version could use a lamp, shoe, or miniature model while keeping the useful structure.
An original brief could read: “Begin on a close detail of the lamp’s woven shade. Pull back slowly to reveal the complete lamp on a dark wooden desk. Keep the camera level and the warm side light consistent. Hold the full view for one second.” It uses the reference as a lesson, not a replacement for an idea.
Test the brief and revise it
If you create a new scene with the Seedance 2.5 video generator, assign each reference a job. An image might establish the lamp’s appearance, a motion clip might guide the pullback, and the text might specify the ending. That division makes revisions easier when the output misses the intended reveal.
Compare the draft with your brief rather than demanding a frame-for-frame copy of the source. Is the subject understandable? Does the camera change the viewer’s knowledge at the right moment? Does the ending have time to register? A useful reference becomes a repeatable creative decision when you can answer those questions in words.
Make the analysis useful to someone else
A creative brief should help a teammate make decisions without replaying the reference every few minutes. After studying the clip, write a short summary of its structure: opening image, important change, and final image. Then list only the details that are essential to recreate the effect with different subject matter.
For a product reveal, the summary might be: “Begin on an ambiguous texture, pull back to reveal the full object, and hold the final frame.” The essential details are the slow pullback, stable side light, and pause after recognition. The original brand, color, and product are not needed to convey the technique.
Separate visual evidence from assumptions
A prompt extractor can describe what appears in a clip, but it cannot always know how the original was produced. A smooth tracking movement may come from a physical camera, a digital crop, or generation. A reflection may be carefully art directed or simply present in the location. Keep the brief anchored to observable outcomes.
This distinction matters when you ask a new model to reproduce the result. “Move slowly from a close view to a wide reveal” is an actionable request. “Use the same production method as the reference” may be impossible to verify. Describe the visual behavior you need rather than guessing at the hidden workflow.
Create a shot-level outline
For each meaningful shot, note the approximate duration, framing, subject action, camera move, and transition. Do not turn every frame into a separate instruction; group frames that belong to one continuous action. If a reference uses quick cuts, identify what each cut changes: scale, viewpoint, location, or information.
Consider a fifteen-second advertisement with three shots. The first establishes a hand holding a product. The second shows a close detail in use. The third returns to a wider view with the result visible. This outline is more useful than a long list of style adjectives because it explains how the viewer learns about the product.
Adapt sound deliberately
Sound often carries timing that visual descriptions miss. A quiet opening can make a later impact feel larger. A voiceover may explain a feature while the image shows a detail. A musical beat may determine when a reveal happens. Note these relationships even if the final production will use different audio.
Do not promise that a generated clip will match an exact beat on the first attempt. Treat timing as a target, then review the draft and adjust the prompt or edit. When a precise synchronization is essential, leave room for postproduction.
Review the result against the question you began with
Return to the specific problem that made you choose the reference. If the opening lacked a hook, did the new version introduce a clear subject sooner? If the product felt flat, did the camera reveal shape or texture? If the pace was slow, did each shot now change the viewer’s understanding?
Save the final brief with a note about what worked and what did not. A reference library becomes more valuable when each clip teaches a named technique that can be reused in an original project.
